Sew Yourself A Shopping Bag!

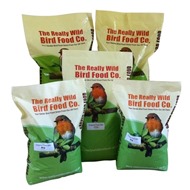
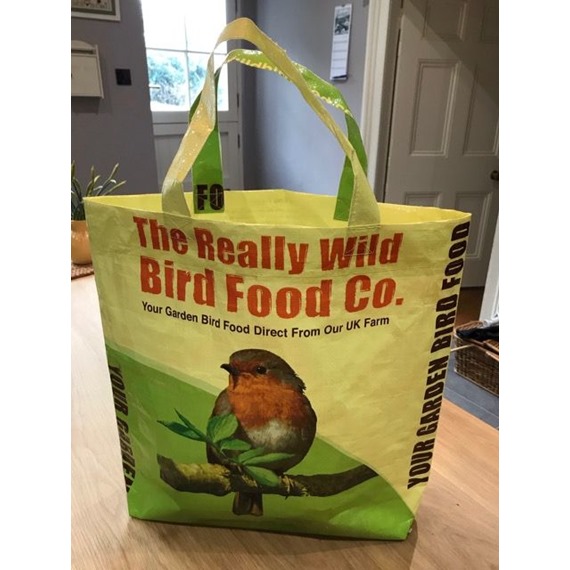
We hope you like this idea for re-purposing our bird food sacks? We love it! Sent in from one of our lovely customers, Mrs Lesley Dersley . She makes her bags on a 1940's Singer Sewing machine and says "
"I've been making and selling cloth bags at our local farm shop for several years. They are lined, reversible and made from old curtains, duvet covers etc. So I just adapted the idea. I never buy new material, always re-use, re- purpose etc. So your sacks were just waiting for me to do something with.
Cost to me? Just the cotton and my time. It would be super if other people would use them in this way too"
And of course - these would be great adverising for us too!
Mrs Dersley has sent us detailed instructions how to make these super bags - you can have a go yourselves! So here is the lockdown challenge! Do let us know how you get on!
P.s sorry these are not currently for sale - just a great idea we wanted to share with you :)
Here are the instructions for my bag with some added notes and tips.
1. Using the large red lettering on the front of the bag as a guide, measure and cut two and half inches above the lettering across the bag.
2. Measure twenty four and half inches down the length of the bag and cut across.
3. Cut 4 lengths for the handles, 20 inches long, one and half inches wide from the material left over.
4. Place 2 lengths of handles together, right side showing and sew around, repeat for second handle. Trim neatly if necessary.
5. Turn in a 2 inch hem at the top of the bag and sew down.
6. Position each end of the handle 5 inches from the sides of the bag. Make sure both handles are exactly the same distance from the side seams so they match. Allow an inch below the edge of the handle to secure. Sow the handles on securely.
7. Tear off the glued on strip from the bottom of the sack you've cut off. Using the bottom of the old sack as a pattern, copy the folds on your bag, stick back the torn off strip using a good glue.
8. You now have a shopping bag!
Notes/ tips.
1. When sewing around the top of the bag line up the seam and start from there. You're more likely to get the top straight. The material is quite slippery to sew and does move about a bit.
2. If the top of the sack hasn't been cut neatly but torn open you may have to reduce the hem at the top but ideally you want to show the lovely red lettering.
3. Don't be tempted to finish the bottom before sewing on handles. It makes the bag bulky and very difficult to manoeuvre around the machine.
4. Don't be afraid to use a biro to mark your measurements. It comes off easily using a damp cloth.
